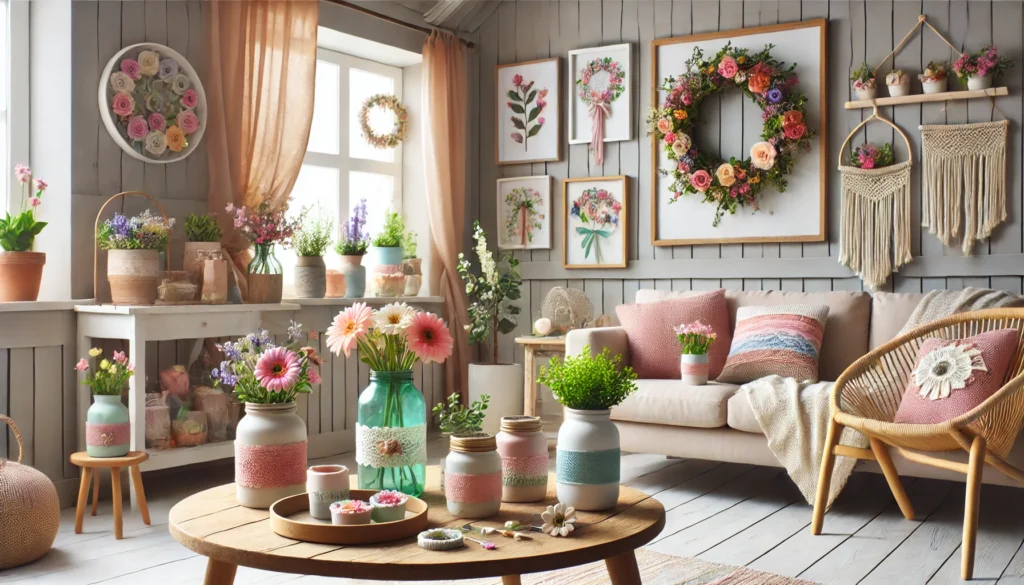
Spring is the perfect time to refresh your home with light, airy decor that brings the beauty of the season indoors. DIY spring decor projects are a fun and cost-effective way to make your home feel brand new.
Whether you want to brighten up your bedroom, living room, or any other space in your home.
In this post, we’ll explore 10 DIY spring decor ideas that will add instant charm to your space and transform your home into a cozy, inviting sanctuary for the season.
And we’ll sprinkle in some fantastic spring decor to help you update your personal retreat!
1. Floral Wreath for the Door or Wall
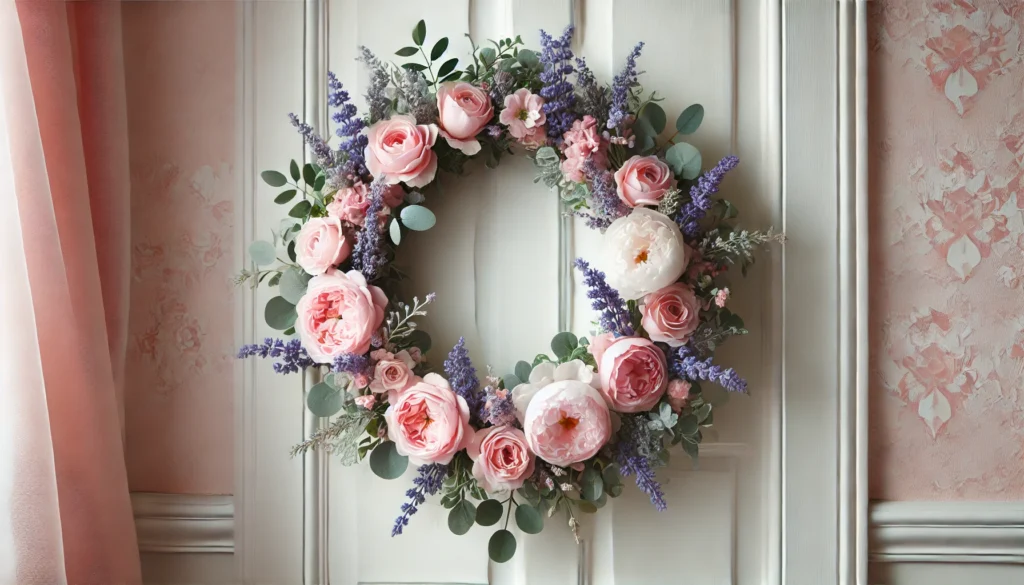
A floral wreath is a simple and effective way to welcome spring into your home.
This DIY project not only adds charm to your space but also sets a fresh, cheerful tone as soon as you walk through the door.
How To Make a Floral Wreath:
- Materials Needed:
- Wire wreath frame
- Floral foam or floral wire
- Faux flowers (roses, tulips, daisies, or peonies work well)
- Greenery (eucalyptus, ferns, or ivy)
- Hot glue gun or floral wire
- Ribbon (optional for hanging)
- Steps:
- Prepare the Frame: Start by securing your floral foam to the wire wreath frame. If you’re using floral wire, make sure it’s tightly wound to hold the foam in place.
- Trim Your Flowers: Cut the stems of your faux flowers to the desired length. Leave some stem length to make it easier to attach them to the wreath frame.
- Arrange Flowers and Greenery: Begin attaching flowers to the wreath frame. Start with larger flowers in the center and work your way out to the edges. Layer the greenery in between the flowers for a natural look.
- Secure Everything in Place: Use a hot glue gun or floral wire to secure each flower and piece of greenery to the wreath.
- Add a Ribbon: If desired, create a simple bow with ribbon to hang your wreath on your door or wall.
- Pro Tip for Bedroom Ideas: For a more subtle touch, hang a smaller wreath above your bed or on the door to your bedroom. You can even add dried flowers for a more rustic, timeless feel.
2. Repurposed Mason Jar Vases
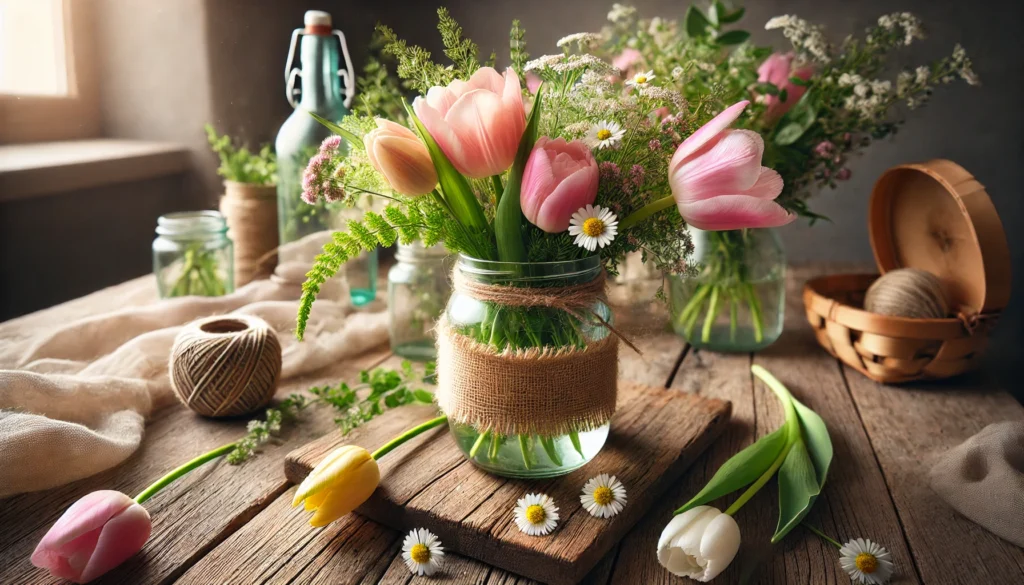
Mason jars are perfect for adding rustic charm to your spring decor.
This DIY project turns old jars into beautiful vases for fresh spring blooms, and it’s easy to customize to fit your space.
How To Make Repurposed Mason Jar Vases:
- Materials Needed:
- Mason jars (various sizes)
- Paint (chalk paint or spray paint in pastel shades)
- Twine or burlap (optional for decoration)
- Fresh or faux flowers
- Scissors
- Steps:
- Clean and Prep the Jars: Start by cleaning the mason jars thoroughly to remove any dust or labels.
- Paint the Jars: Using chalk paint or spray paint, apply a light coat to each mason jar. Pastel colors like mint green, lavender, or soft pink work great for spring. Allow the jars to dry completely.
- Decorate with Twine: Once the jars are dry, wrap the necks of the jars with twine or burlap for a rustic touch. You can add a small bow or leave it plain.
- Fill with Flowers: Add fresh or faux flowers to the jars. You can use peonies, tulips, or sunflowers, or even small branches with blossoms for a more whimsical feel.
- Pro Tip for Bedroom Ideas: Place a few of these repurposed mason jar vases on your nightstand or windowsill. They’ll bring the beauty of spring into your bedroom and create a relaxing, serene atmosphere.
3. DIY Spring Throw Pillows
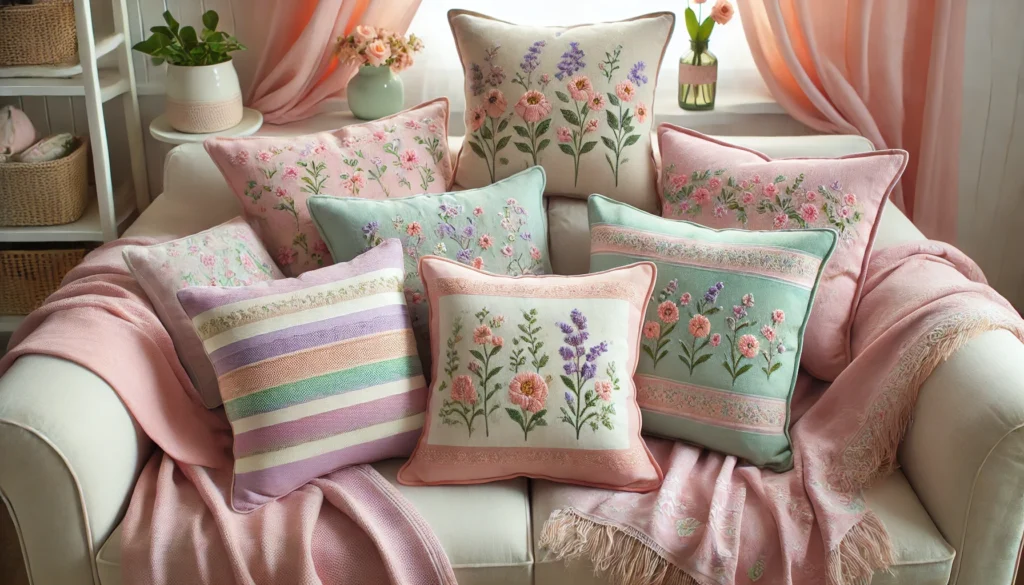
Throw pillows are a fantastic way to instantly update any space.
This DIY project allows you to create custom pillows that perfectly match your spring decor, whether you choose bold floral patterns or soft, pastel solids.
How To Make DIY Spring Throw Pillows:
- Materials Needed:
- Pillow covers (or fabric to sew your own)
- Fabric paint or embroidery thread
- Stencils (optional)
- Paintbrushes (for fabric paint)
- Steps:
- Choose Your Fabric: Pick out fabric that suits your spring style—florals, stripes, or solid pastels. If you prefer, buy pre-made pillow covers to save time.
- Design Your Pillow: Decide whether you want to paint a design, use fabric markers, or embroider a pattern. Use a stencil for more precise designs like flowers or geometric shapes.
- Create the Design: Use fabric paint to apply the design to the pillow cover. Allow the paint to dry completely before handling.
- Stuff the Pillow: If you’re using fabric and sewing your own pillow cover, stuff it with pillow fill and sew the seams shut.
- Pro Tip for Bedroom Ideas: Place these custom pillows on your bed for a cohesive and stylish spring look. Mix different textures and colors to create a fun, inviting atmosphere.
4. Macramé Wall Hanging
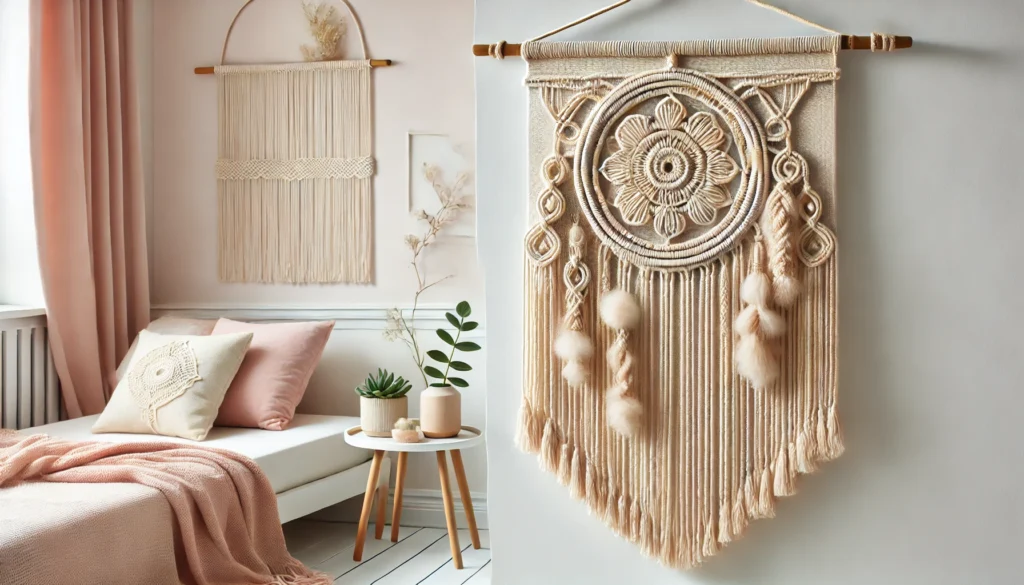
Macramé wall hangings are trendy, boho-inspired decor pieces that are perfect for spring.
They add texture and personality to any room, making them a great way to bring warmth and creativity into your home.
How To Make a Macramé Wall Hanging:
- Materials Needed:
- Macramé cord (around 3mm to 5mm thickness)
- Wooden dowel
- Scissors
- Tape measure
- Steps:
- Cut the Cord: Cut several strands of macramé cord, each about 6 feet long. The number of cords you need will depend on the size of the wall hanging.
- Secure the Cord to the Dowel: Fold each piece of cord in half and loop it over the dowel using a lark’s head knot. This creates the base for your wall hanging.
- Start Knotting: Begin creating knots. The simplest knot to start with is the square knot, which involves knotting two cords over and under each other. Experiment with different knot patterns to create your desired design.
- Finish and Hang: Once you’ve reached the desired length, trim the ends of the cords to create a neat fringe. Hang your macramé wall hanging on the wall using the dowel.
- Pro Tip for Bedroom Ideas: Hang the macramé wall hanging above your bed or on an empty wall in your bedroom for a boho-inspired spring look that adds texture and warmth to your space.
5. Mini Potted Plant Garden
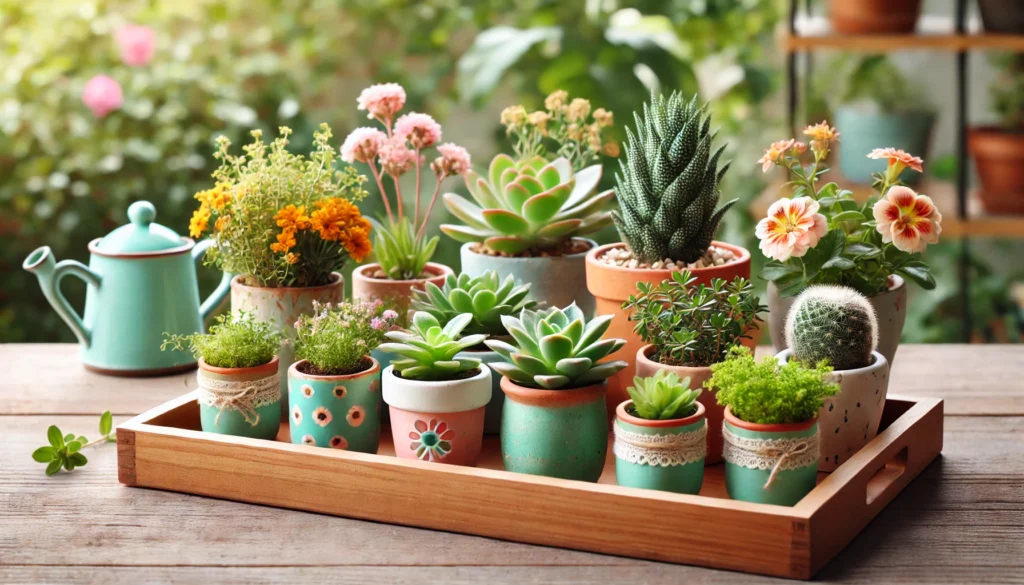
A mini potted plant garden is an easy and affordable way to incorporate nature into your home.
Small plants like succulents, herbs, or flowers add life and vibrancy to any room.
How To Create a Mini Potted Plant Garden:
Pro Tip for Bedroom Ideas: Place these mini potted plants on your nightstand, dresser, or windowsill.
They’ll bring a touch of nature and fresh air into your bedroom, creating a calming environment perfect for spring.
Materials Needed:
Small pots (terracotta, ceramic, or any style you like)
Small plants (succulents, herbs, or flowers)
Potting soil
Pebbles for drainage (optional)
Decorative stones or pebbles (optional)
Steps:
Prepare the Pots: Ensure that your pots have drainage holes at the bottom. If not, you can add small pebbles to help with drainage.
Plant the Greenery: Fill each pot with a layer of potting soil. Gently place your plant in the pot and add more soil around it. Press down lightly to secure the plant in place.
Decorate: Add decorative stones or pebbles on top of the soil for a polished look.
Arrange the Pots: Group several mini potted plants together on a tray, bookshelf, or windowsill. Mix and match plants for variety in color and texture.
6. Upcycled Wooden Tray with Spring Accents
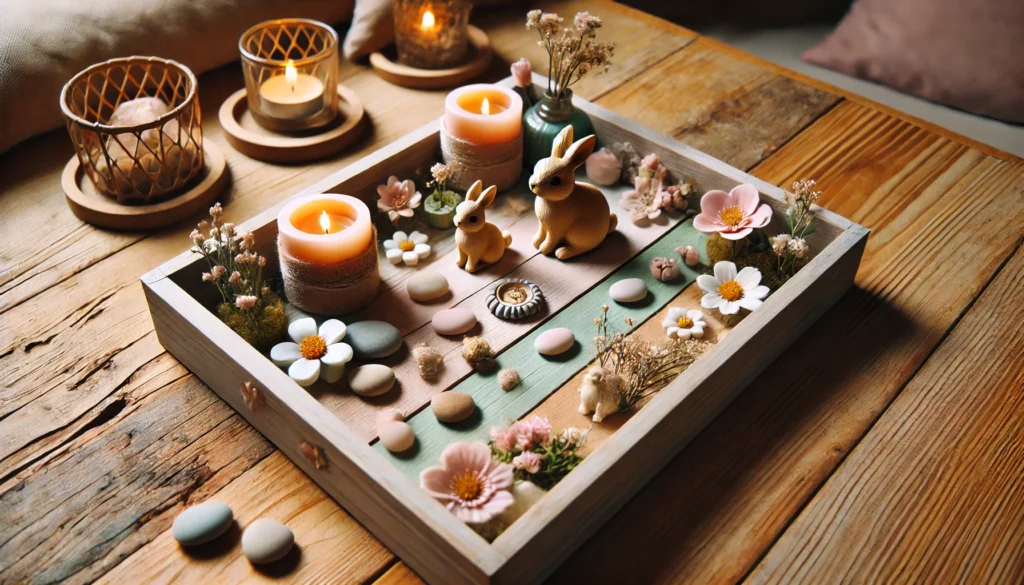
An upcycled wooden tray can be a stylish and functional decor piece for your home.
Adding spring accents like flowers, candles, or seasonal figures can make the tray feel fresh and inviting, perfect for welcoming the season.
How To Make an Upcycled Wooden Tray:
- Materials Needed:
- Wooden tray (old or new)
- Paint (pastel colors, white, or metallic shades)
- Sandpaper (if the tray is old)
- Decorative accents (small candles, faux flowers, seasonal figures)
- Hot glue gun (optional for securing accents)
- Steps:
- Prepare the Tray: If you’re using an old wooden tray, sand it down to remove any rough edges or paint. This will create a smooth surface for your new look.
- Paint the Tray: Apply a coat of paint in your desired color. Pastels like soft pink, lavender, or mint green are great choices for spring. Allow the paint to dry fully.
- Add Spring Accents: Decorate the tray with seasonal accents like small spring-themed candles, faux flowers, or figurines like bunnies or birds. You can use hot glue to secure these items in place if needed.
- Finish and Style: Once everything is securely placed, use the tray as a centerpiece on your coffee table, dining table, or entryway.
- Pro Tip for Bedroom Ideas: Place this upcycled tray on your nightstand to organize essentials or add a decorative touch with candles and fresh flowers. It will instantly add charm and sophistication to your bedroom.
7. Fresh Flower Garland
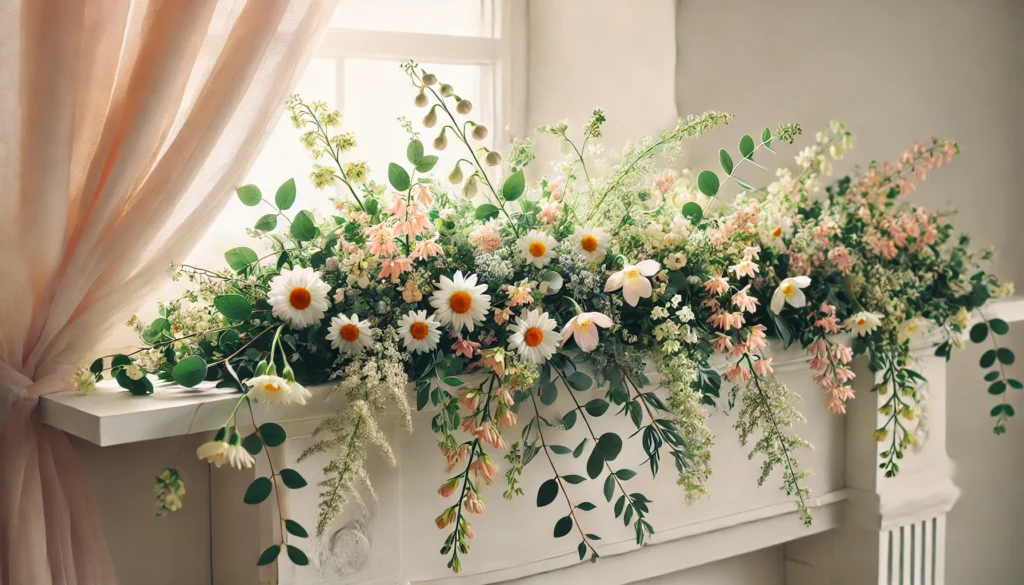
A fresh flower garland brings the beauty of nature into your home, offering a delightful touch of spring that’s easy to create and customize.
Drape the garland across your mantel, windows, or even hang it above your bed to create an inviting spring atmosphere.
How To Make a Fresh Flower Garland:
- Materials Needed:
- Fresh flowers (such as jasmine, daisies, or baby’s breath)
- Twine, string, or fishing line
- Scissors
- Floral wire (optional for securing flowers)
- Decorative greenery (optional)
- Steps:
- Prepare the Flowers: Trim the stems of your fresh flowers to a manageable length, leaving a bit of stem to easily attach them to the garland.
- Create the Garland Base: Cut a piece of twine, string, or fishing line to the desired length for your garland. Make sure it’s long enough to drape across the area you want to decorate.
- Attach the Flowers: Begin attaching your flowers to the string by either tying them directly with the string or using floral wire to secure them. Arrange them in a loose, natural pattern, alternating colors and flower types.
- Add Greenery (Optional): For a fuller, more textured look, add sprigs of greenery such as eucalyptus or ivy in between the flowers.
- Finish and Hang: Once the garland is complete, hang it across your mantel, along your windows, or above your bed for a whimsical, spring-inspired look.
- Pro Tip for Bedroom Ideas: Drape the garland over your bed’s headboard or across a window frame to infuse your bedroom with the fragrance and beauty of fresh flowers.
8. DIY Painted Flower Pots
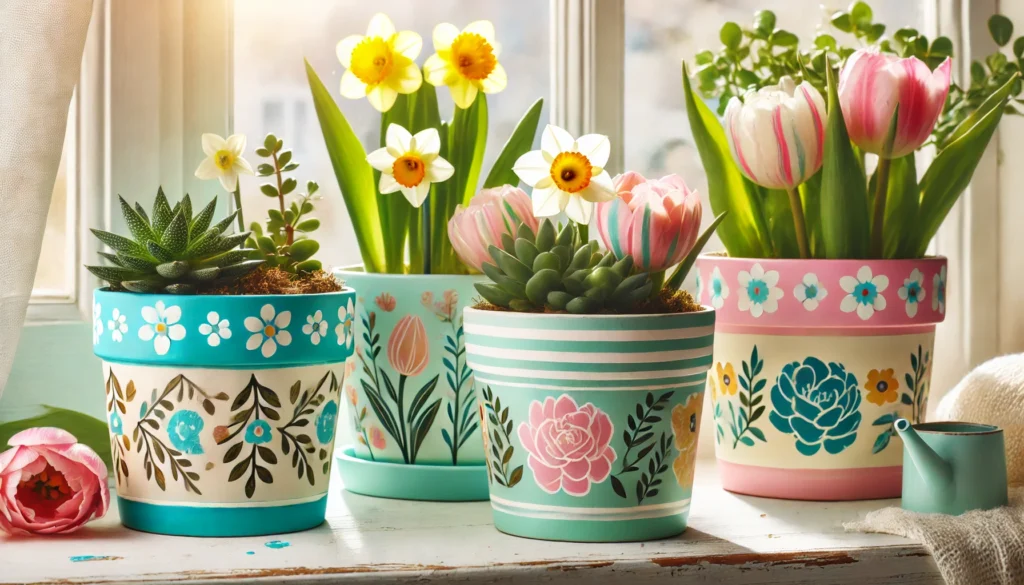
DIY painted flower pots are a great way to add color and personality to your spring decor.
You can personalize them to fit any style, from boho to farmhouse, making them perfect for adding a touch of whimsy to your home.
How To Make DIY Painted Flower Pots:
- Materials Needed:
- Plain terracotta pots
- Acrylic paint (in pastel colors or bold spring shades)
- Paintbrushes
- Painter’s tape (optional for geometric designs)
- Clear acrylic sealant (optional for a glossy finish)
- Steps:
- Clean the Pots: Ensure the terracotta pots are clean and dry before painting.
- Paint the Base Color: Choose a pastel or bright spring color and paint the entire pot. You may need to apply two coats for full coverage. Allow the paint to dry in between coats.
- Add Designs (Optional): Use painter’s tape to create clean lines for geometric patterns, or freehand fun designs like polka dots, stripes, or floral motifs. Let each layer of paint dry completely before adding additional designs.
- Seal the Pot (Optional): To protect your design, you can apply a clear acrylic sealant over the painted surface.
- Fill with Plants: Add your favorite spring plants, such as succulents, tulips, or daisies, and arrange them on your windowsill or shelves.
- Pro Tip for Bedroom Ideas: Place these painted flower pots on your bedroom windowsill, dresser, or bedside table for a colorful and fresh addition to your spring decor.
9. Spring-Themed Woven Basket

A woven basket is not only a functional storage solution but also an opportunity to infuse your space with spring-inspired charm.
Add a few spring-themed accents, like fresh flowers or Easter decor, to make the basket feel seasonal and vibrant.
How To Create a Spring-Themed Woven Basket:
- Materials Needed:
- Woven basket (small or medium-sized)
- Pastel-colored ribbon or twine
- Faux flowers or small decorative accents (such as birds, bunnies, or Easter eggs)
- Hot glue gun (optional for securing accents)
- Steps:
- Decorate the Basket: Wrap the woven basket with pastel-colored ribbon or twine. You can tie it in a bow for added charm or wrap it around multiple times for a layered look.
- Add Spring Accents: Attach faux flowers, small bunnies, or Easter eggs around the top of the basket using hot glue. You can use greenery to fill in any gaps for a fuller look.
- Fill the Basket: If you plan to use the basket for storage, fill it with blankets, magazines, or seasonal decor. Alternatively, use it as a centerpiece by filling it with fresh flowers or small decorative items.
- Pro Tip for Bedroom Ideas: Place a spring-themed woven basket on your nightstand or in a corner of your bedroom to add some natural texture and seasonal charm.
10. DIY Spring Centerpiece with Candles
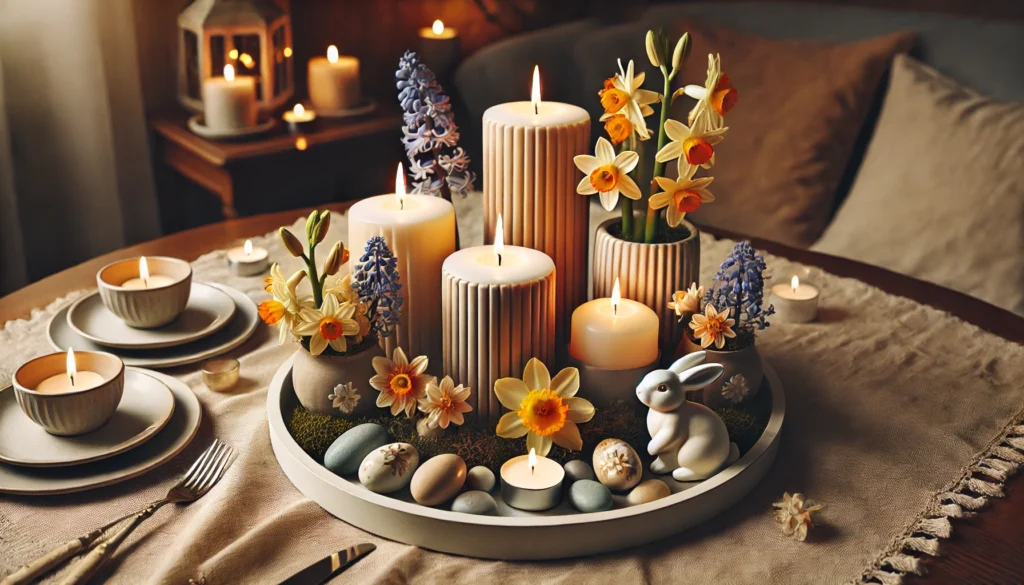
Candles are a perfect way to set the mood in your home, especially for a cozy, springtime atmosphere.
Creating a DIY spring centerpiece with candles adds warmth and elegance to your space while highlighting seasonal colors and textures.
How To Create a DIY Spring Centerpiece with Candles:
- Materials Needed:
- Candles (tea lights, pillar candles, or votives)
- Decorative tray (wooden, metal, or glass)
- Fresh flowers or faux greenery
- Decorative elements (such as pebbles, stones, or small figurines)
- Steps:
- Prepare the Tray: Choose a decorative tray that complements your home’s spring color scheme. Wooden trays work well for a rustic feel, while glass trays add a more modern touch.
- Arrange the Candles: Place the candles in the center of the tray. You can mix different heights and sizes to create visual interest.
- Add Flowers or Greenery: Surround the candles with fresh flowers or faux greenery. Use flowers like daffodils, tulips, or hydrangeas for a vibrant look.
- Decorate with Stones or Figurines: Scatter pebbles, small stones, or spring-themed figurines (such as bunnies or birds) around the candles to complete the look.
- Light the Candles: Once everything is arranged, light the candles to create a warm, inviting atmosphere.
- Pro Tip for Bedroom Ideas: Place your DIY spring centerpiece on your bedroom dresser or bedside table to create a calming, romantic vibe perfect for spring evenings.
Spring is a time of renewal, and there’s no better way to celebrate the season than by adding some DIY spring decor to your home.
These 10 easy and creative projects will instantly infuse your space with fresh, vibrant energy that reflects the beauty of spring.
Whether you’re refreshing your bedroom or giving your living room a makeover, these projects offer simple ways to bring charm and personality to every corner of your home.
Which spring decor project are you most excited to try?
Share your thoughts with us in the comments, and let us know how you plan to refresh your space this season!
Related Articles:
21 Easy Vanity Ideas Bedroom Makeovers Need To Elevate Your Morning Routine


