Are you dreaming of a stylish bathroom but worried about breaking the bank? Look no further! In this post, we present 13 DIY bathroom ideas that bring big impact on a small budget.
Whether you’re a seasoned DIY enthusiast or just starting out, these bathroom ideas are designed to inspire creativity and transform your space without spending a fortune.
1. Revamp with a Fresh Coat of Paint
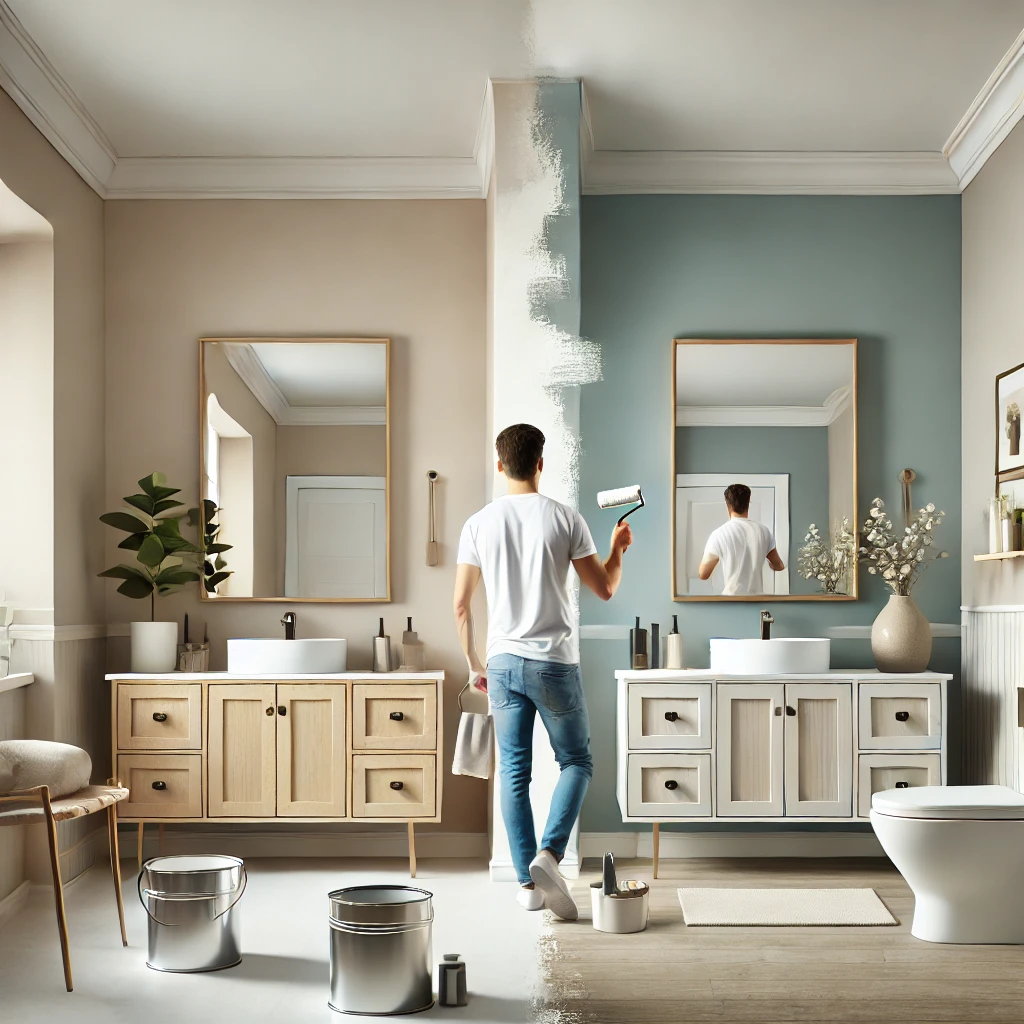
A new color can breathe life into any bathroom.
With the right shade and technique, a simple paint job can transform your space into a modern haven.
a. Choosing the Perfect Color
- Mood Setting: Consider whether you want a calm, soothing environment (cool blues or greens) or a vibrant, energizing space (warm reds or yellows).
- Trend Check: Look up current color trends and Pinterest boards for inspiration on the latest bathroom ideas.
b. Preparing the Surface
- Clean Thoroughly: Remove all dust, grime, and moisture from walls and ceilings.
- Repair Imperfections: Patch holes and sand down rough spots to create a smooth canvas.
- Use Primer: A primer ensures better adhesion and a more durable finish—an essential step for a bathroom’s humid environment.
c. Painting Techniques
- Roller vs. Brush: Use rollers for large areas and brushes for edges and corners.
- Multiple Coats: Apply at least two coats, allowing each layer to dry completely.
- Accent Features: Consider painting one wall a different color to create an accent wall for added drama.
d. Finishing Touches
- Sealant: For extra protection against moisture, apply a clear sealant over the paint.
- Maintenance: Use washable paints to make cleaning easier in a high-use area.
2. Install Floating Shelves
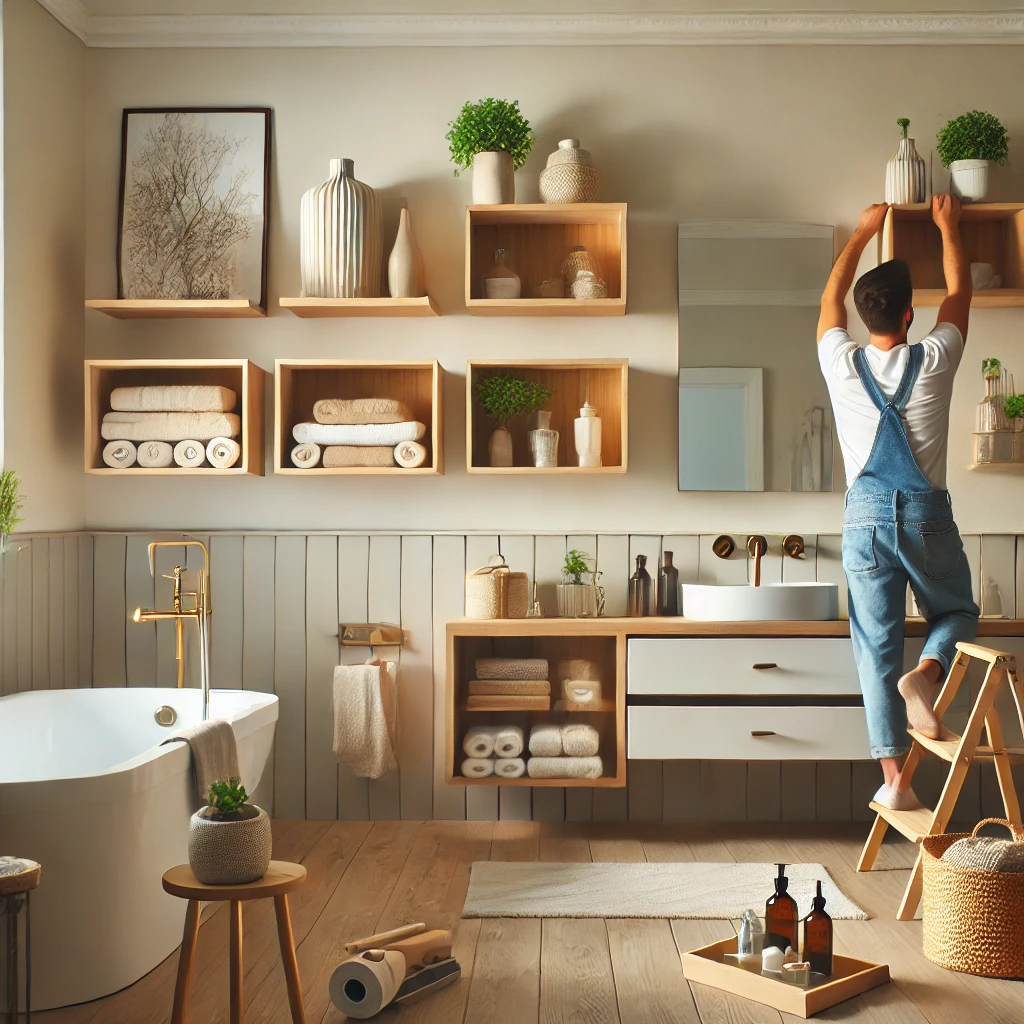
Floating shelves not only provide additional storage but also add a modern, open feel to your bathroom.
They’re a versatile bathroom idea that can showcase decorative items and keep essentials organized.
a. Selecting Materials
- Wood Options: Reclaimed wood, pine, or even bamboo are budget-friendly and add warmth.
- Alternate Materials: Consider metal brackets with glass shelves for an industrial look.
b. Planning and Measurement
- Placement Strategy: Determine the best spots based on your bathroom layout—next to the vanity or above the toilet.
- Weight Capacity: Ensure the shelves can handle the weight of your items by selecting sturdy materials.
c. Installation Process
- Marking and Drilling: Measure precisely and mark where the shelves will hang. Use a level to ensure they’re perfectly horizontal.
- Anchoring: Secure shelves with appropriate wall anchors, especially in areas with high moisture.
d. Styling Your Shelves
- Decorative Displays: Mix plants, candles, and stylish containers.
- Organizational Tips: Use baskets or trays to group similar items together, maintaining a neat appearance.
3. Update Fixtures and Hardware
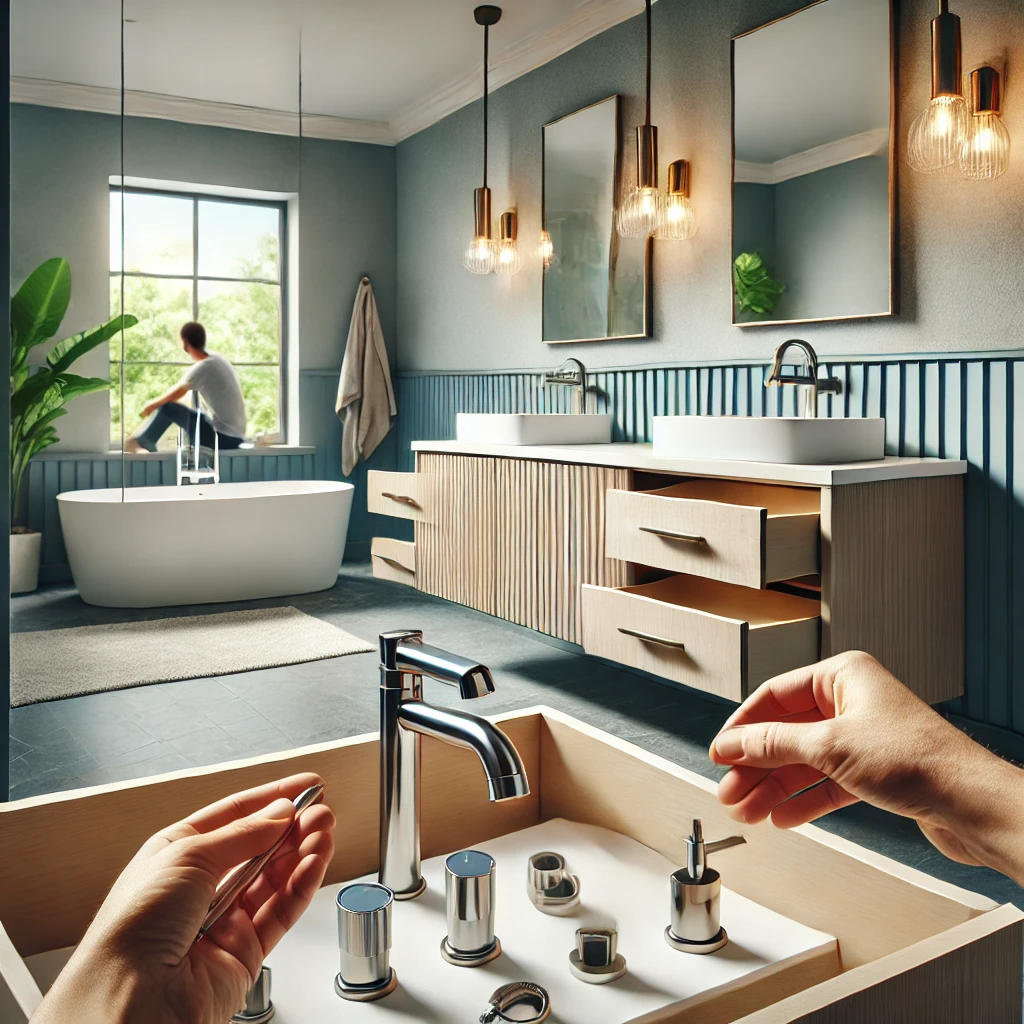
Swapping out outdated fixtures and hardware is one of the simplest yet most impactful bathroom ideas.
Modernizing these small details can drastically change the overall feel of your space.
a. Faucets and Showerheads
- Modern Designs: Choose sleek, contemporary designs that complement your bathroom style.
- Water Efficiency: Look for fixtures that offer water-saving features, reducing your utility bills.
b. Drawer Pulls and Cabinet Knobs
- Cohesive Look: Coordinate hardware finishes (brushed nickel, matte black, or chrome) to create a unified look.
- DIY Upgrade: If replacing hardware, remove the old pieces with care and measure for perfect alignment before installation.
c. Towel Bars and Hooks
- Installation Tips: Ensure they’re installed at accessible heights and in logical locations.
- DIY Customization: Create unique towel bars using reclaimed materials for a rustic touch or modern acrylic for a contemporary vibe.
d. Accessory Upgrades
- Mirrors and Shelves: Swap out dated mirrors for ones with LED backlighting or stylish frames.
- Mixing Textures: Combine different textures and finishes to add depth and interest to your bathroom décor.
4. Create a Statement Mirror
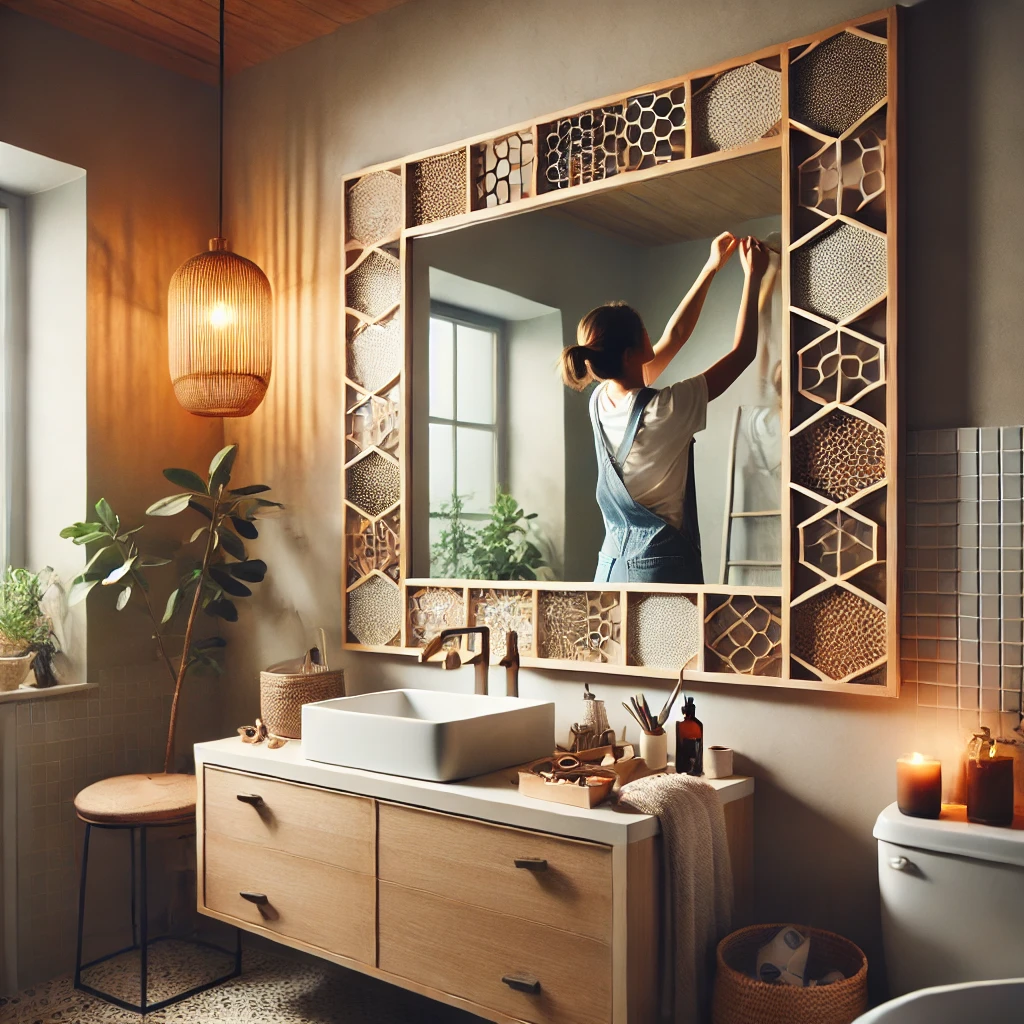
A custom mirror can be the focal point of your bathroom, adding both function and artistic flair.
This creative bathroom idea elevates your space with a personalized touch.
a. Designing Your Mirror Frame
- Material Choices: Repurpose vintage frames, use decorative molding, or craft a frame from reclaimed wood.
- Size and Shape: Consider oversized mirrors for a bold statement or unique shapes like hexagons for added intrigue.
b. DIY Assembly Steps
- Frame Preparation: Sand and paint the frame to match your bathroom’s palette.
- Mounting the Mirror: Secure the mirror in place using adhesive or mounting clips, ensuring it’s level and firmly attached.
- Finishing Details: Add embellishments such as stencils or decorative decals to further customize the look.
c. Enhancing with Lighting
- LED Accents: Install LED strip lights around the mirror for a glamorous, spa-like effect.
- Light Fixtures: Consider pendant lights above the mirror to create a balanced and well-lit vanity area.
d. Maintenance and Care
- Cleaning: Use a soft, non-abrasive cloth to clean the mirror and frame.
- Repairs: Check the mounting periodically to ensure stability, especially in humid conditions.
5. Add an Accent Wall
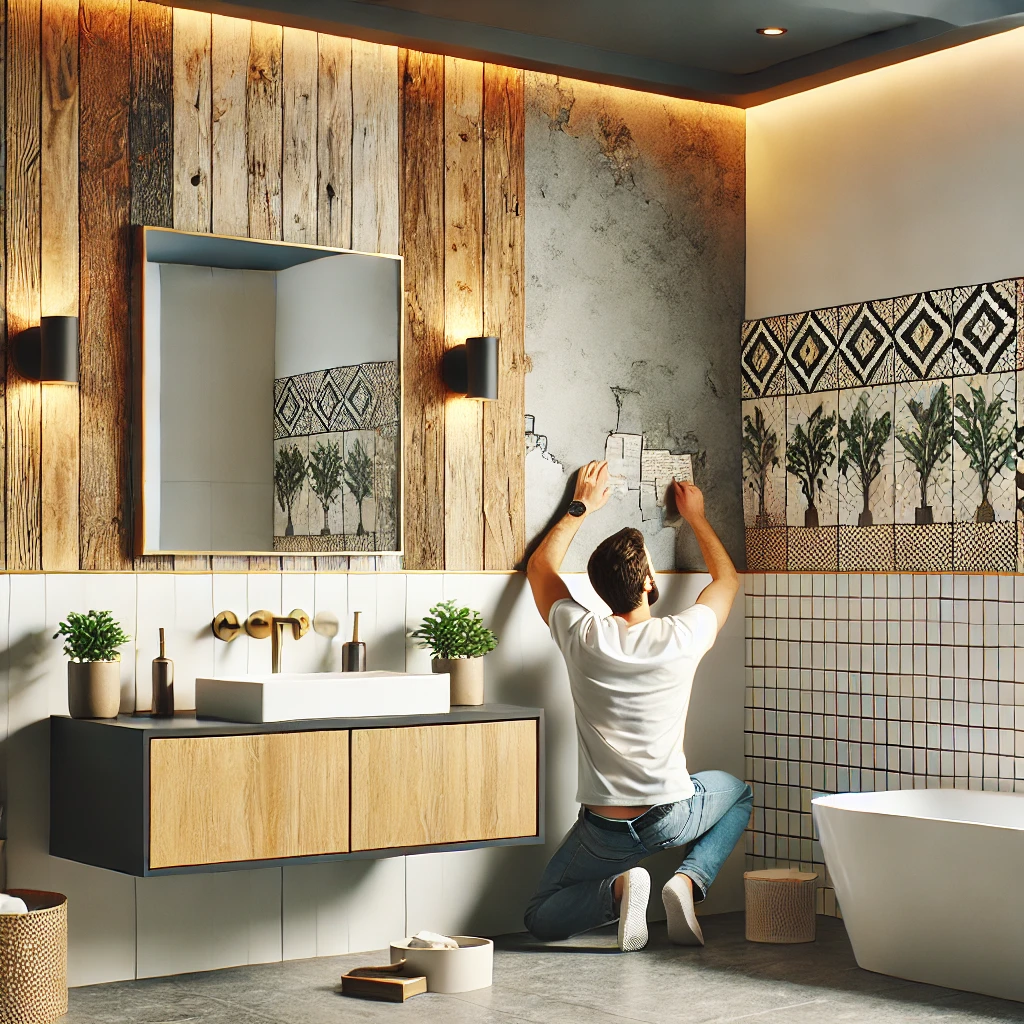
Creating an accent wall is a transformative bathroom idea that adds depth and character to your space without overwhelming it.
a. Choosing Your Accent Material
- Wallpaper: Use bold, patterned, or textured removable wallpaper designed for bathrooms.
- Tile Options: Consider a mosaic tile arrangement or reclaimed wood panels to create visual interest.
- Paint Techniques: Experiment with techniques like stenciling or color blocking if you prefer a painted accent wall.
b. Preparing the Surface
- Clean and Prime: As with any paint project, clean the wall thoroughly and apply a primer to ensure proper adhesion.
- Moisture Considerations: Use moisture-resistant materials and adhesives to prevent damage from humidity.
c. Installation Process
- Wallpaper Application: Carefully measure, cut, and apply wallpaper, smoothing out air bubbles for a flawless finish.
- Tile Installation: If using tiles, plan the layout, apply mortar, and use spacers for even grouting.
- DIY Wood Paneling: Sand and stain wood panels before applying them to the wall with a strong adhesive.
d. Styling and Finishing Touches
- Complementary Decor: Coordinate accessories like shelves, mirrors, and lighting to enhance the accent wall.
- Highlighting Features: Use lighting to draw attention to the texture and detail of the accent material.
- Balance the Space: Ensure the rest of the bathroom features neutral tones to let the accent wall stand out without overwhelming the room.
6. Utilize Removable Wallpaper
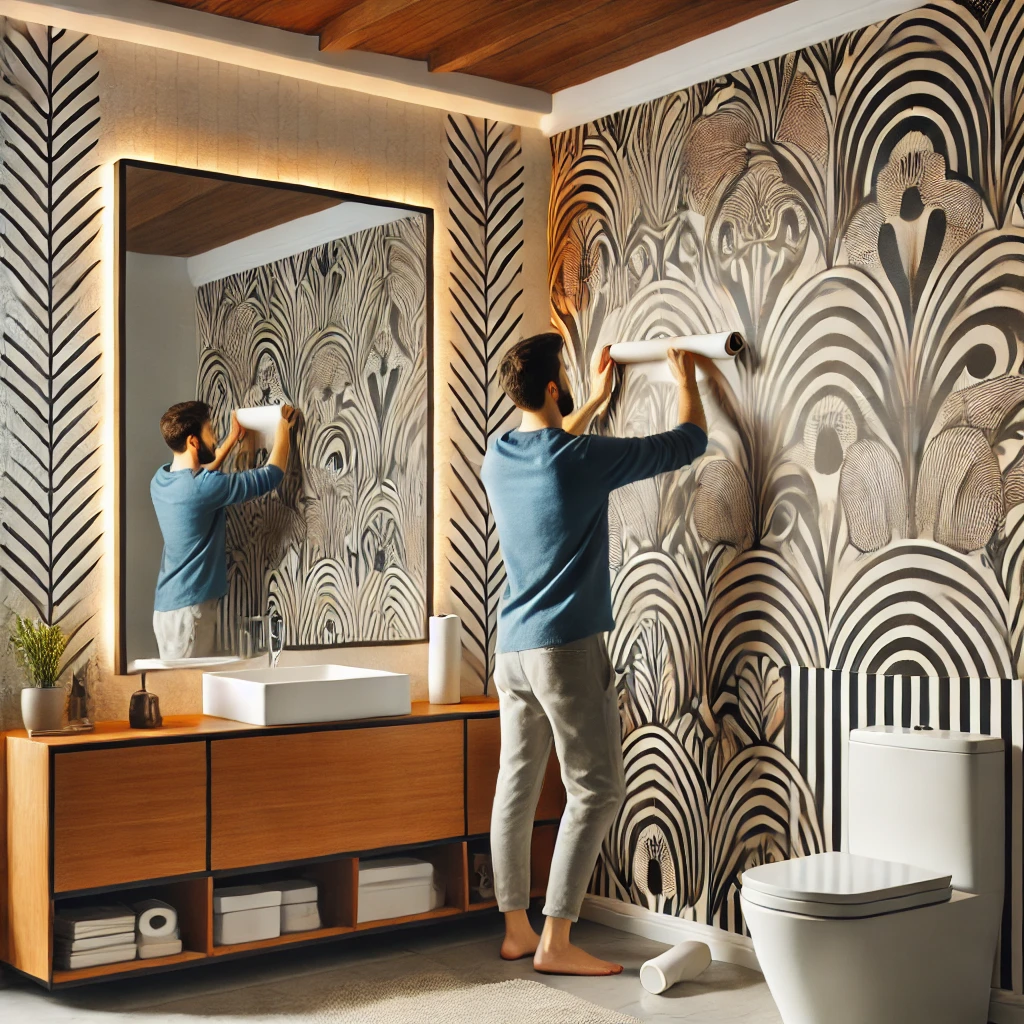
For renters or those who prefer a non-permanent solution, removable wallpaper offers a fantastic way to experiment with color and patterns.
This versatile bathroom idea can instantly elevate your space while providing flexibility for future updates.
a. Choosing the Right Wallpaper
- Design & Pattern: Select designs that reflect your style—whether it’s bold geometric shapes, soft florals, or intricate tile patterns that mimic traditional ceramics.
- Quality Matters: Invest in high-quality, peel-and-stick wallpaper designed for high-humidity areas to prevent peeling or bubbles.
b. Preparation Steps
- Clean Surface: Ensure the wall is free of dust, grease, and moisture for optimal adhesion.
- Smooth Out Imperfections: Fill in any cracks or holes and sand down rough patches to create a seamless backdrop.
c. Application Process
- Measure and Cut: Measure the dimensions of your wall accurately, and cut the wallpaper into manageable strips.
- Align Carefully: Start from a corner or focal point. Use a level to align each strip vertically or horizontally for a consistent look.
- Smooth Out Bubbles: Use a smoothing tool or a clean squeegee to press the wallpaper firmly onto the wall, eliminating air bubbles.
d. Removal and Maintenance
- Gentle Removal: When it’s time for a change, peel the wallpaper off slowly to avoid damaging the wall.
- Easy Cleaning: Wipe down the wallpaper with a damp cloth to keep it looking fresh and vibrant.
7. DIY Vanity Makeover
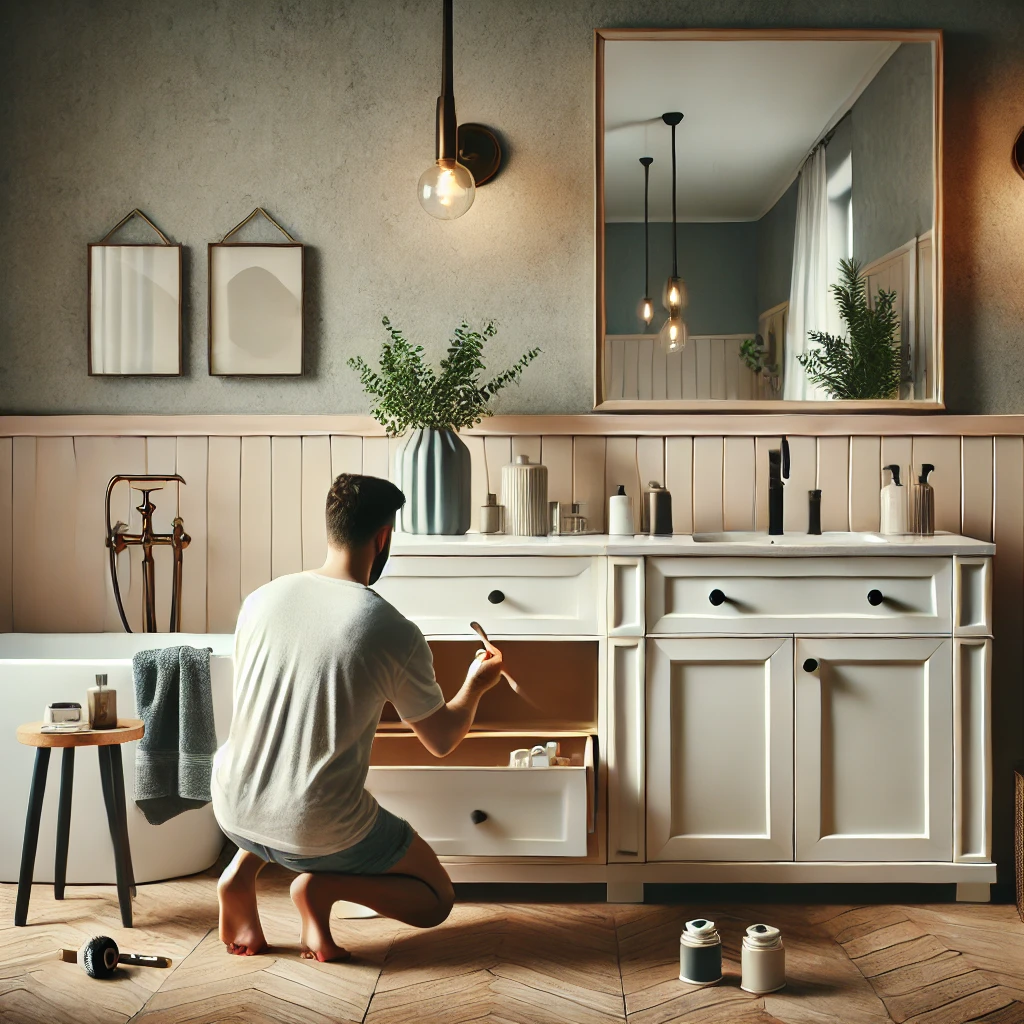
Transforming your old or outdated vanity into a chic focal point is a brilliant bathroom idea that adds both functionality and personality without a hefty price tag.
a. Choosing a Base Vanity
- Repurpose Furniture: Hunt for an old dresser, sideboard, or even a thrift store find that can be repurposed into a vanity.
- Size and Layout: Ensure the piece fits well in your bathroom’s layout, leaving enough room for movement and storage.
b. Upgrading the Surface
- Countertop Options: Add a waterproof countertop by using materials like laminate, concrete, or even a repurposed wooden slab treated for moisture resistance.
- Finishing Touches: Sand and repaint or stain the vanity to match your desired aesthetic.
c. Hardware and Accessories
- Modern Hardware: Update the drawer pulls and knobs to give a sleek, cohesive look.
- Lighting Solutions: Install under-cabinet lighting or add a stylish mirror with integrated LED lights to complete the upgrade.
d. Assembly and Installation
- Secure Mounting: If your vanity is wall-mounted, ensure it’s anchored properly to handle daily use.
- Organizational Tools: Consider adding small organizers or decorative trays inside drawers to keep essentials neatly stored.
8. Upgrade Lighting Fixtures

Lighting plays a crucial role in setting the mood and functionality of your bathroom.
Refreshing your lighting fixtures is a simple yet impactful bathroom idea that can transform the space entirely.
a. Assessing Your Lighting Needs
- Task vs. Ambient: Determine which areas need bright, task-specific lighting (around the mirror) and which require softer, ambient lighting for relaxation.
- Energy Efficiency: Opt for LED fixtures that not only look modern but also reduce your energy consumption.
b. Fixture Selection
- Modern Designs: Choose fixtures that reflect your style—be it sleek and minimalist, industrial chic, or vintage-inspired.
- Layered Lighting: Incorporate multiple layers, such as recessed lights, pendant fixtures, or wall sconces, to create depth and dimension.
c. Installation Tips
- Safety First: Ensure all installations comply with local electrical codes, particularly in wet areas.
- Professional Help: For complex wiring or installations, don’t hesitate to consult with a licensed electrician.
- DIY Adjustments: For simpler upgrades like swapping out a fixture, follow manufacturer instructions closely for a seamless update.
d. Enhancing the Atmosphere
- Dimmers and Smart Controls: Install dimmer switches or smart lighting systems to adjust the brightness according to the time of day or activity.
- Highlight Features: Use accent lighting to draw attention to key design elements, such as a statement mirror or art pieces.
9. Introduce Creative Storage Solutions
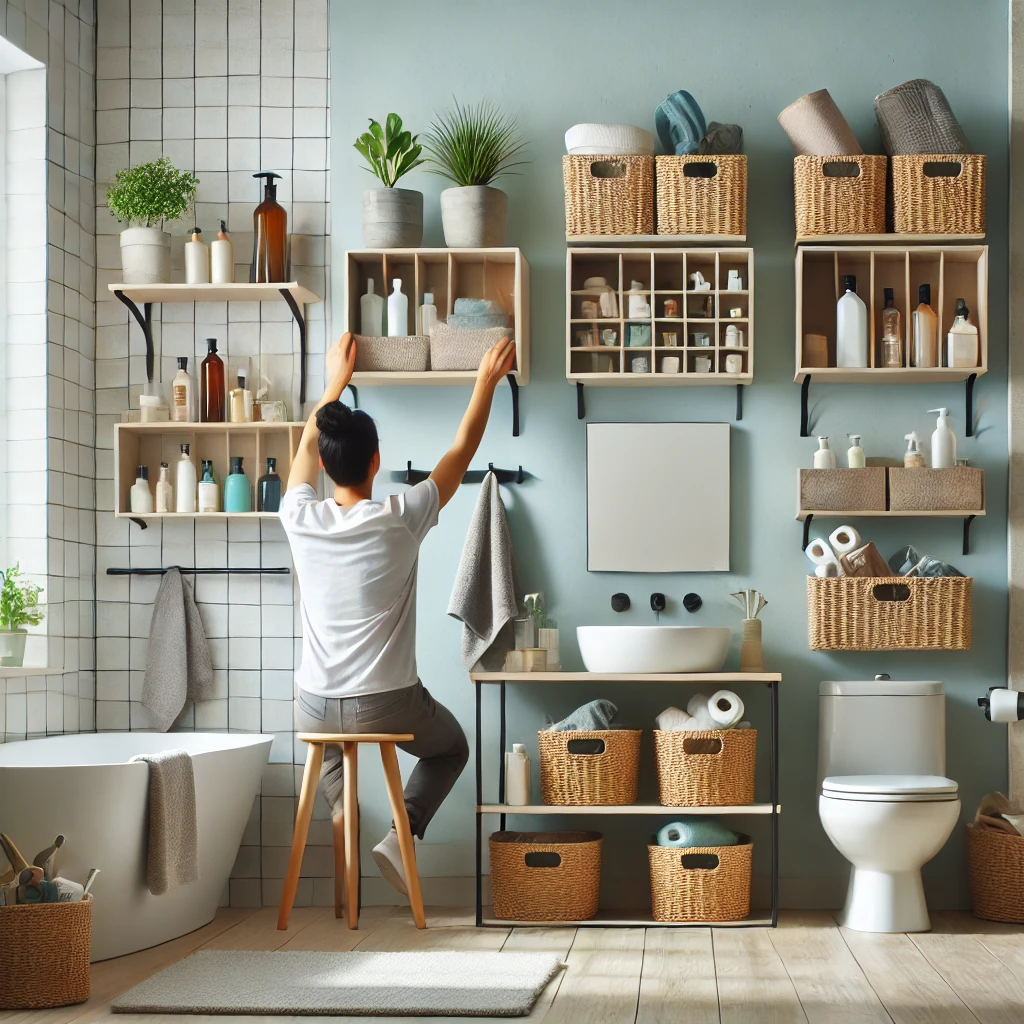
A clutter-free bathroom enhances both its functionality and aesthetic appeal.
Smart storage is one of the most effective bathroom ideas for keeping your space organized and visually pleasing.
a. Evaluating Your Storage Needs
- Identify Problem Areas: Look for spaces where clutter accumulates, such as countertops, under the sink, or open shelves.
- Purpose and Placement: Decide which items need to be within reach and which can be stored out of sight.
b. Innovative Storage Options
- Repurposed Items: Use vintage baskets, crates, or even mason jars to create stylish storage solutions.
- Custom Built-ins: Consider DIY built-in shelving or cabinets that maximize unused wall space.
c. Installation and Organization
- Mounting Solutions: Secure wall-mounted organizers or pegboards with proper anchors to withstand bathroom humidity.
- Labeling Systems: Create labels for baskets or bins to maintain an organized and easy-to-navigate storage system.
d. Aesthetic Enhancements
- Cohesive Decor: Choose storage solutions that complement your bathroom’s overall design, from color to material.
- Personal Touches: Integrate decorative elements like patterned baskets or hand-painted labels to add character and charm.
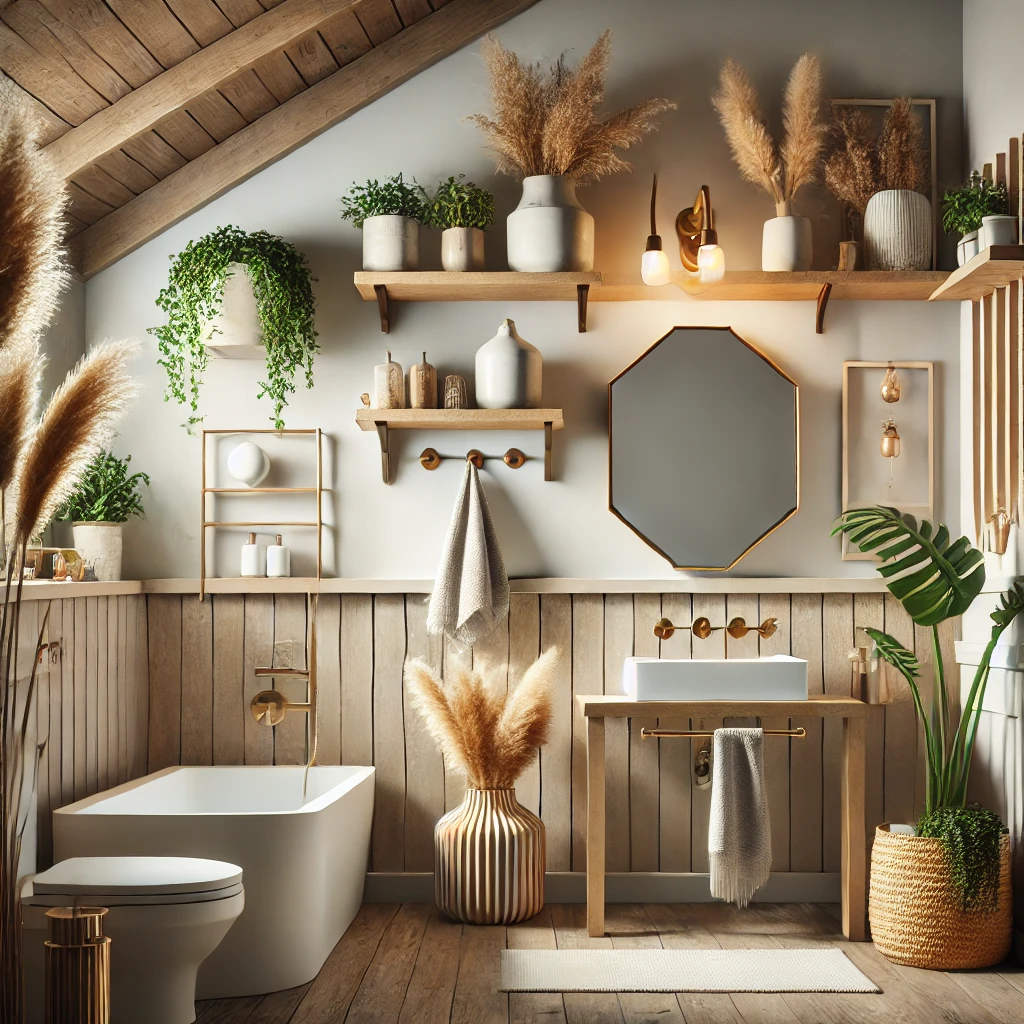
10. Incorporate Natural Elements

Bringing nature into your bathroom not only creates a calming ambiance but also adds texture and warmth.
These nature-inspired bathroom ideas are perfect for a serene, spa-like environment.
a. Selecting Natural Materials
- Plants: Choose low-maintenance, humidity-loving plants such as ferns, succulents, or even small orchids.
- Wood and Stone: Incorporate reclaimed wood accents, stone sinks, or pebble mats to enhance the natural feel.
- Organic Textiles: Use natural fiber rugs, towels, and shower curtains to add a touch of earthy elegance.
b. Placement and Installation
- Strategic Placement: Position plants in areas with indirect sunlight, such as near windows or under skylights.
- Feature Walls: Consider a living wall or vertical garden that can serve as a dynamic accent piece in your bathroom.
- Natural Fixtures: Install a stone countertop or wood-framed mirror to tie the natural elements together.
c. DIY Enhancements
- Planter Projects: Create your own decorative planters using repurposed jars, wooden boxes, or even painted terracotta pots.
- Water Features: Consider a DIY small fountain or a rain showerhead that mimics the sound and feel of natural water sources.
- Art and Decor: Hang nature-inspired artwork or incorporate driftwood and branches as unique decorative accents.
d. Maintenance Tips
Cleaning Natural Elements: Use gentle cleaning methods for wood and stone to maintain their natural beauty without damaging the materials.
Regular Care: Establish a routine for watering and caring for your plants, ensuring they thrive in the humid environment.
11. DIY Towel Warmers
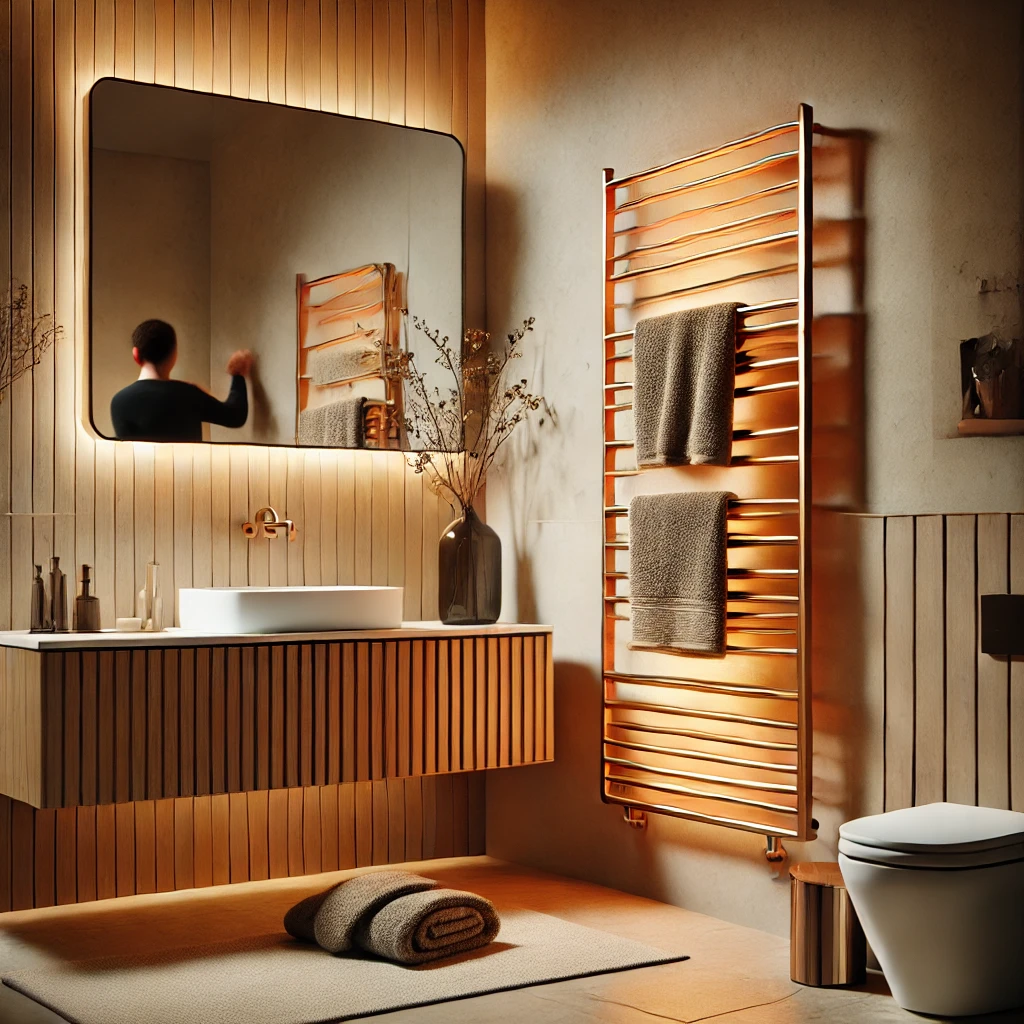
Adding a DIY towel warmer is a luxurious yet budget-friendly bathroom idea that brings both functionality and style to your space.
Not only does it keep your towels cozy, but it also adds a touch of spa-like sophistication.
a. Choosing Your Design
- Electric vs. Non-Electric: Decide whether you want an electrically powered warmer or a simple, heated rack. Electric options offer instant warmth, while non-electric designs can utilize radiant heat.
- Style & Material: Consider materials such as reclaimed wood for a rustic look or sleek metal for a modern vibe. Match the design with your overall bathroom decor.
b. Gathering Materials and Tools
- Materials List: Heating elements or wires (for electric models), metal or wood panels, wall-mounting brackets, screws, and a power source (if applicable).
- Tools Needed: Drill, level, measuring tape, and safety gear (gloves and goggles).
c. Installation Process
- Design Layout: Sketch the layout and mark the desired placement on the wall, ensuring the warmer is accessible yet out of direct water spray.
- Mounting: Secure the panels or racks with sturdy brackets, ensuring they’re anchored correctly to support the weight of towels.
- Electrical Safety: If opting for an electric version, follow manufacturer guidelines and consider consulting an electrician to ensure proper wiring and safety.
d. Finishing Touches
- Testing: After installation, test the warmer to ensure it heats evenly and safely.
- Decorative Accents: Add matching hooks or small shelves nearby to complete the functional and stylish design.
12. Refresh with New Accessories
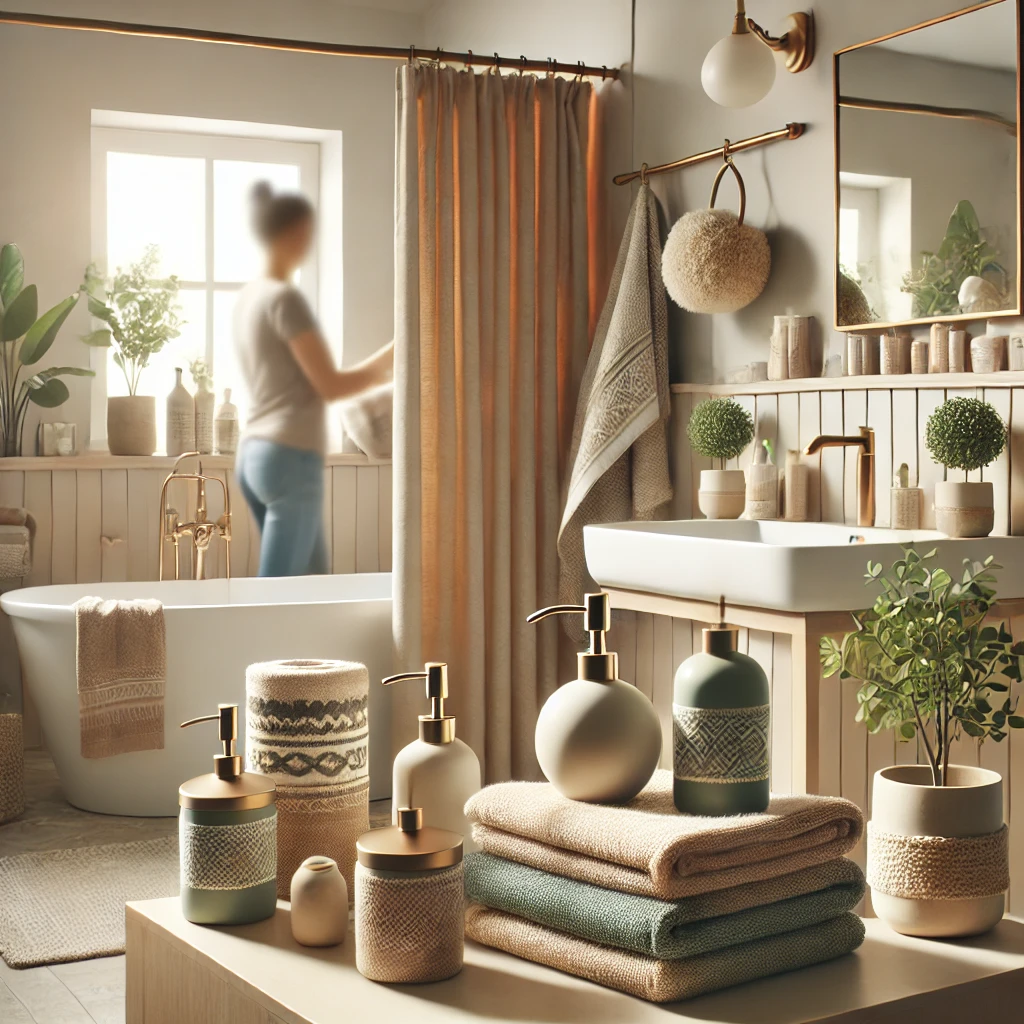
Sometimes, all your bathroom needs is a quick refresh with the right accessories.
This collection of simple bathroom ideas can dramatically change the look and feel of your space without a major overhaul.
a. Updating Key Accessories
- Shower Curtains and Rugs: Swap out outdated shower curtains and rugs with fresh, trendy alternatives. Consider bold prints or minimalist designs to create a striking focal point.
- Art and Decor: Incorporate framed art, decorative mirrors, or wall decals that resonate with your style. Small touches can make a significant visual impact.
b. DIY Accessory Projects
- Customized Towels and Linens: Personalize towels or fabric accessories with DIY stenciling or embroidery.
- Handmade Storage Solutions: Create your own soap dispensers or toothbrush holders using repurposed materials like glass jars or reclaimed wood.
c. Coordinating Colors and Themes
- Color Palette: Stick to a consistent color scheme to maintain a cohesive look. Integrate your chosen hues through towels, accessories, and even wall accents.
- Textural Mix: Combine different textures—smooth ceramics, soft fabrics, and natural wood—to add depth and interest.
d. Placement and Organization
- Functional Arrangements: Position accessories where they’re most needed, such as placing a new shower caddy within easy reach or arranging art to balance the room’s layout.
- Decluttering: Keep the space organized by investing in smart storage solutions. This not only enhances the aesthetics but also improves the overall functionality of your bathroom.
13. DIY Custom Storage Bins
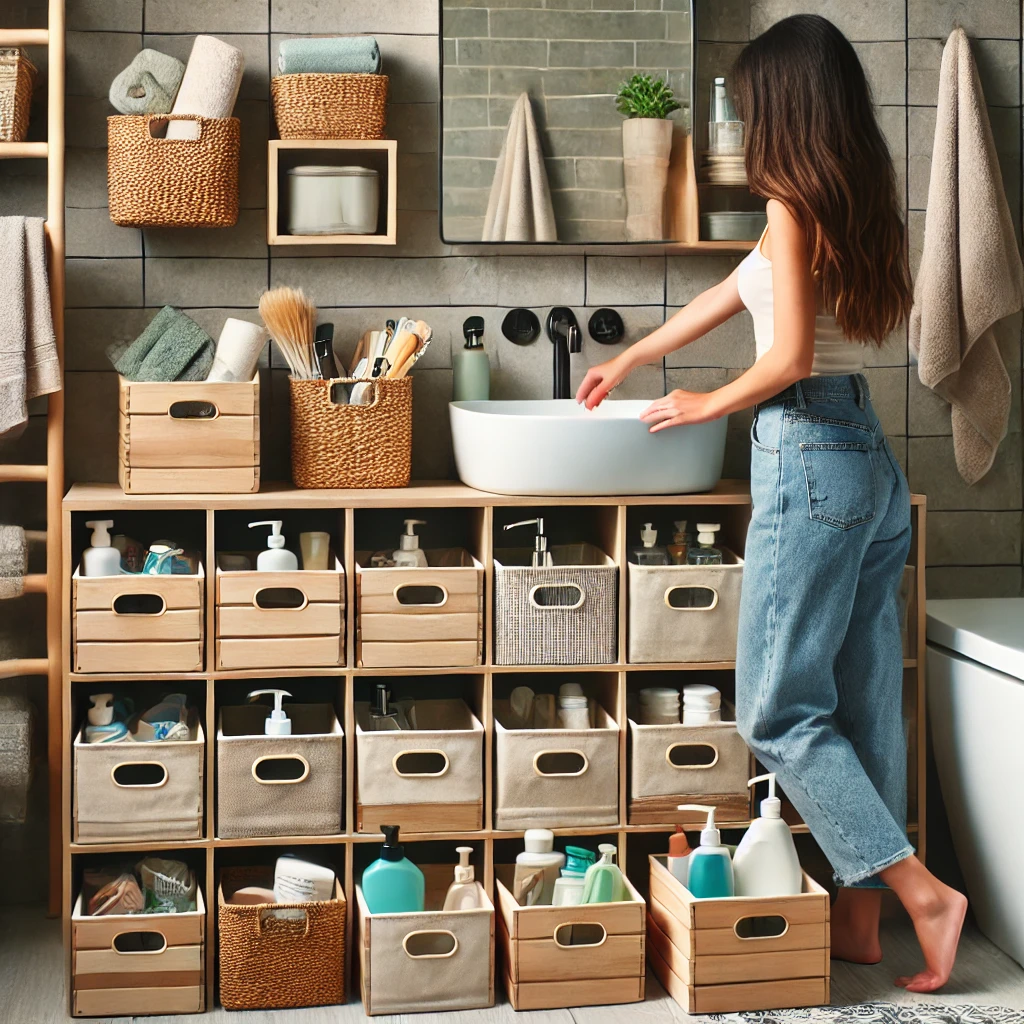
Custom storage bins are an excellent bathroom idea for keeping your space tidy while adding a personalized touch.
With a little creativity, you can design storage solutions that fit your unique style and organization needs.
a. Designing Your Storage Bins
- Material Selection: Choose waterproof materials like plastic, treated wood, or even metal. You can also repurpose old baskets and give them a fresh look with new paint or fabric.
- Size and Shape: Measure the available space and design bins that perfectly fit under the sink, on countertops, or in closets.
b. DIY Decoration Techniques
- Painting and Stenciling: Use waterproof paints to add color and patterns that match your bathroom’s decor. Stencils can create elegant patterns without requiring artistic skills.
- Labeling: Create custom labels using waterproof stickers or hand-painted tags. This not only looks great but also helps keep your storage system organized.
c. Assembly and Installation
- Modular Designs: Consider creating modular bins that can be rearranged to suit different storage needs. This flexibility makes it easier to adapt as your requirements change.
- Securing the Bins: If placing the bins in high-moisture areas, ensure they have non-slip backing or use adhesive strips to keep them securely in place.
d. Enhancing Functionality and Aesthetics
- Integrated Organizers: Add dividers or small compartments inside the bins to separate different items, such as toiletries, cleaning supplies, or extra linens.
- Visual Appeal: Decorate the bins with complementary textures or accents that tie them into the overall design of your bathroom. Consider adding a weathered finish for a vintage look or a sleek modern style for a contemporary feel.
Transforming your bathroom doesn’t have to be expensive or overwhelming.
With these 13 DIY bathroom ideas, you can achieve a high-impact makeover on a small budget.
From a simple coat of paint to creative storage solutions and unique accessories, every project is designed to bring style, functionality, and personality to your space.
Get inspired, take action, and share your journey with others on Pinterest. Happy renovating!